
When I started looking into growing my own salads I did what any logical person would do: I went for what I knew, what I was comfortable with – that was the usual salad plants we know… cabbage, lettuce, cucumber, tomato, sweet pepper. As I realised that these are hard work, require time and space but most importantly lots of garden space I decided to search for a quick win and stumbled upon a type of greens called Microgreens!
Microgreens are smaller versions of many tastes we are already accustomed to: Cress, Mustard, Rocket, Peas even Broccoli!
Nutritions and Taste
I am no nutritional or health expert, but many professions related with wellbeing rave about their nutritional benefits! I am personally interested in their exceptionally tasty kick they provide to otherwise tasteless supermarket salads and the fact that I don’t need to put almost any effort into growing them! They are great not only in salads but in sandwiches too with a bit of cheese and salami or chicken.
How to grow them
Microgreens usually will take anything from 7 to 28 days to grow (some a bit longer, especially in the winter) and all you’ll need is to water them and to cut them with a pair of scissors immediately before consuming them.
I tend to use fruit packaging with a bit of soil for better moisture and meat packaging as a tray for ease of watering. This keeps each pot flexible and manageable in size, ensuring no spillages or lack of hydration for the soil!
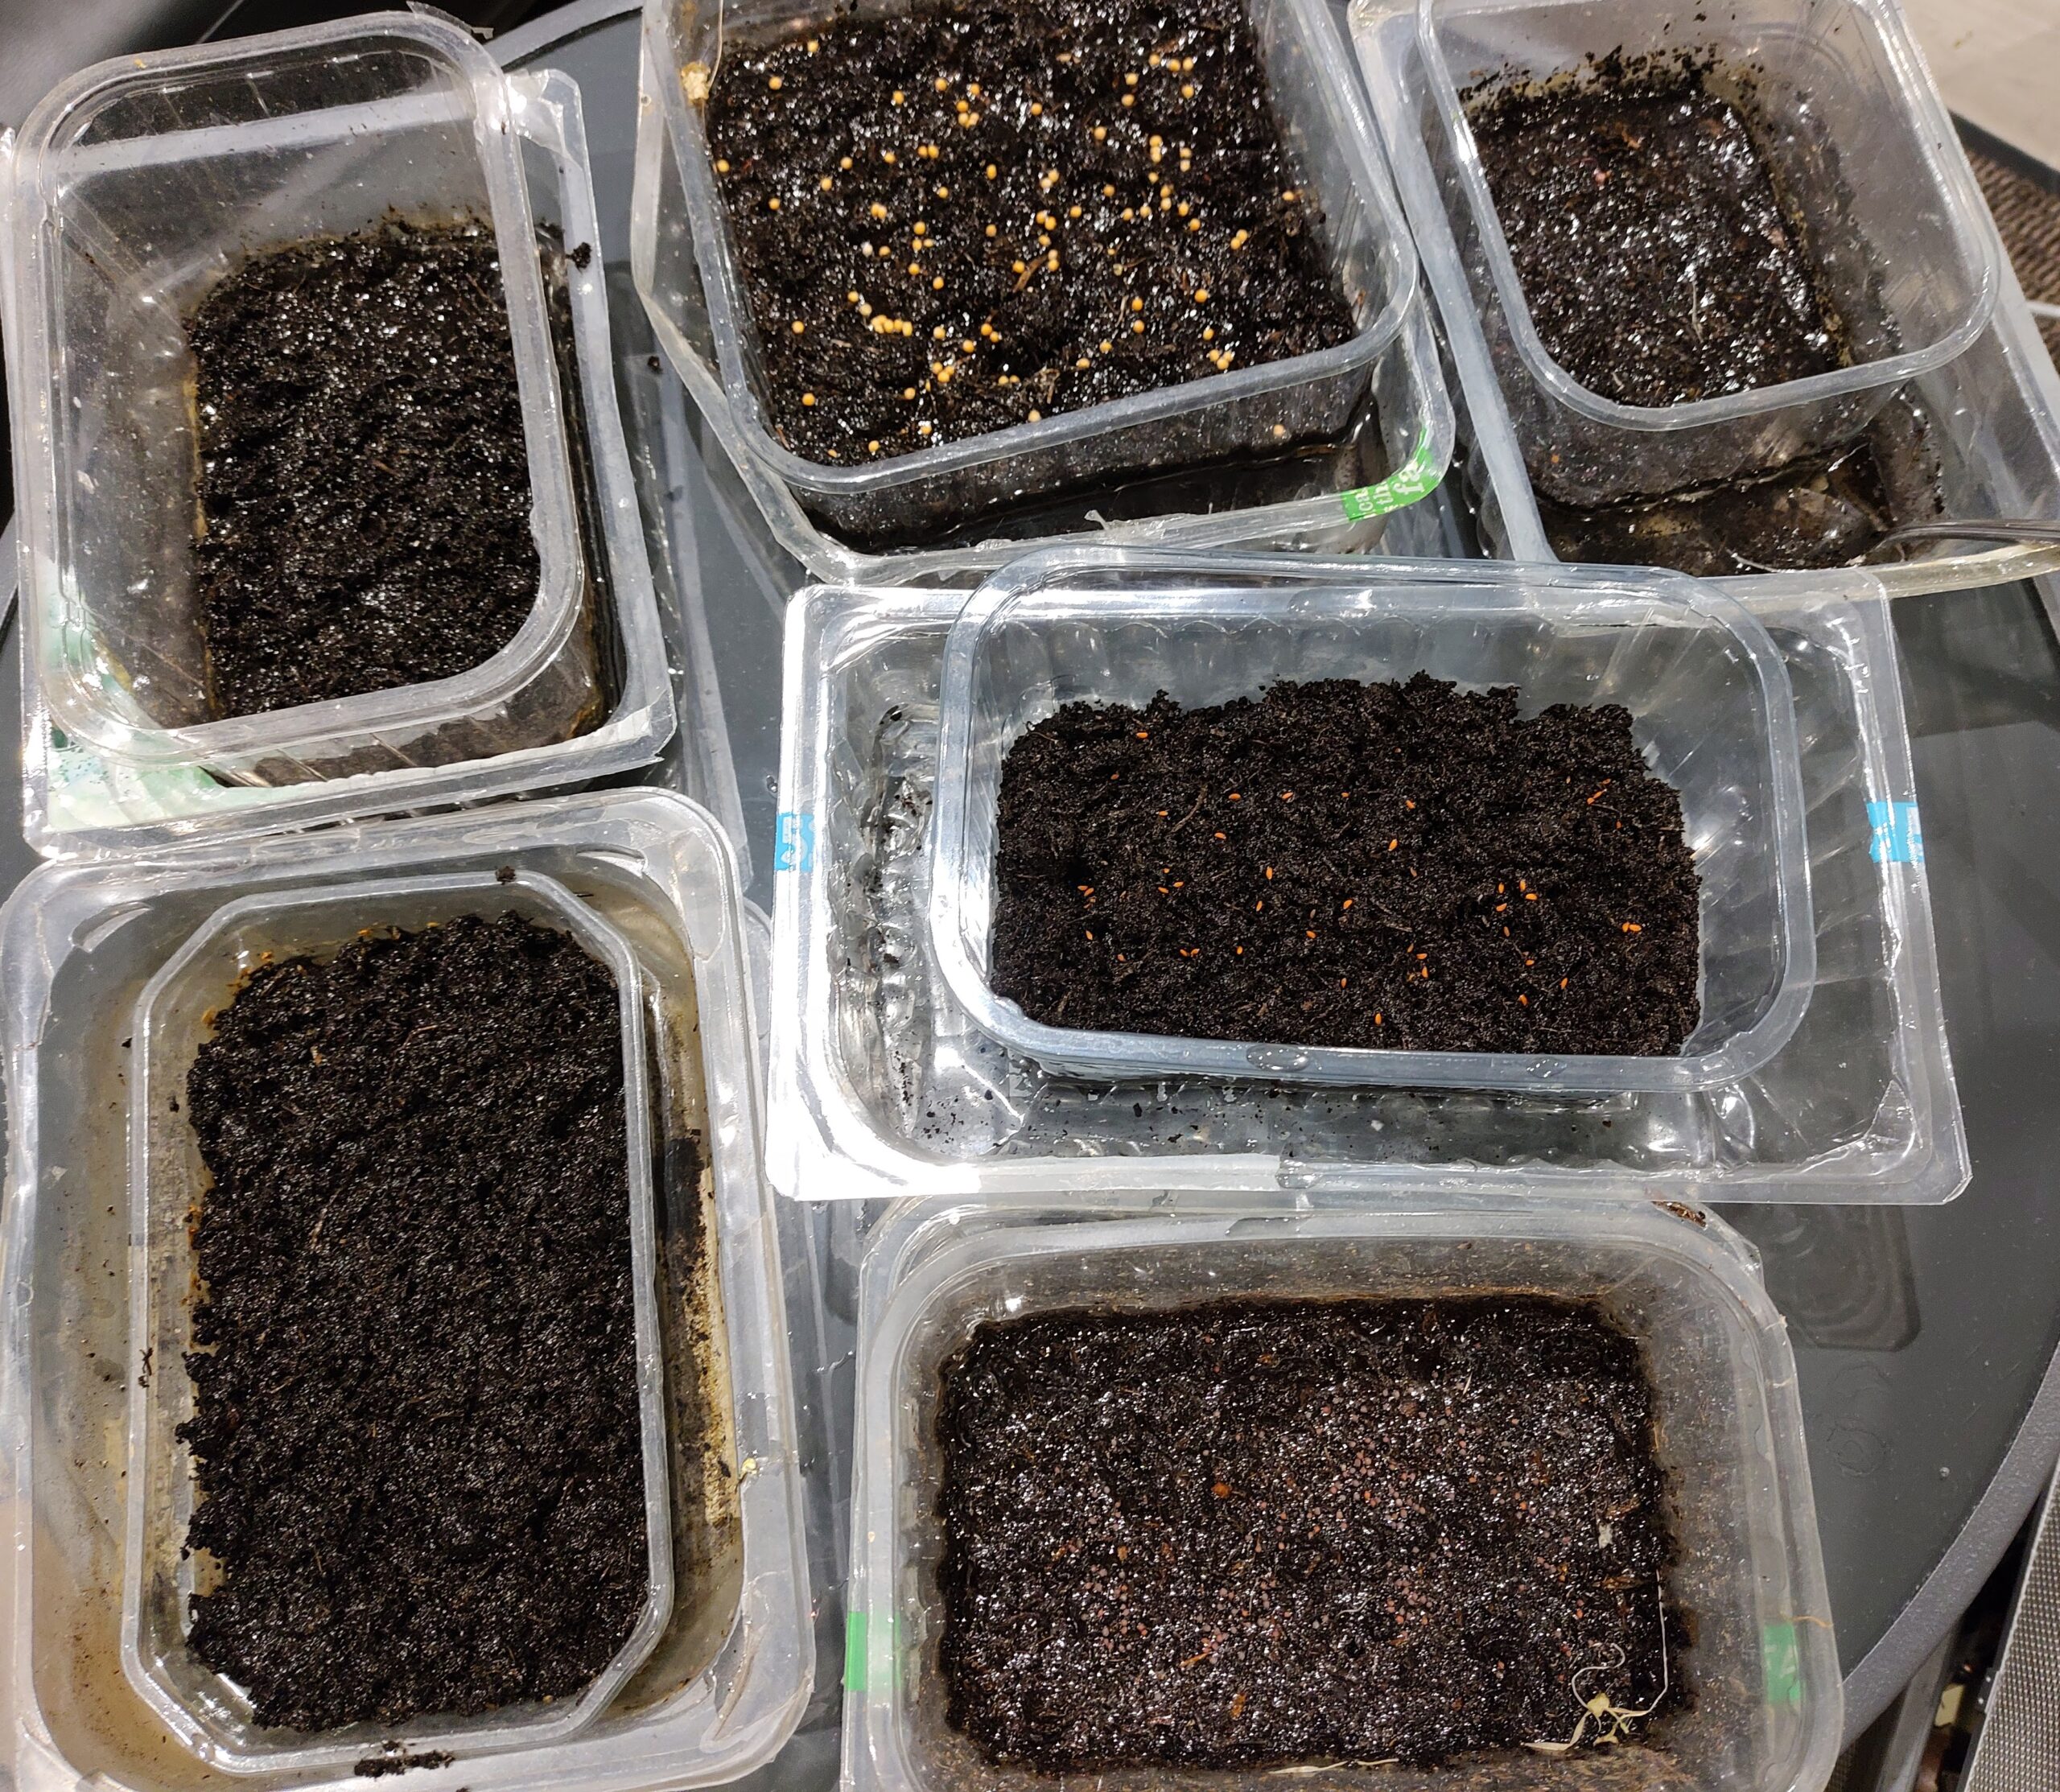
At this point, just make sure you check on them every 2-3 days and pour some water on the tray of the ones that have soaked up all the water, they do not like going dry! Once ready, just pick with two fingers and cut with scissors as close to the soil as possible.
There might be the odd one that re-grows (i.e. Greek Olympus Cress) but most are one-off tiny pieces of tastiness!